搭建Git服務器
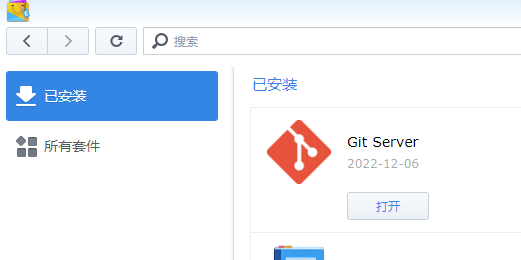
在套件中心安裝 Git Server
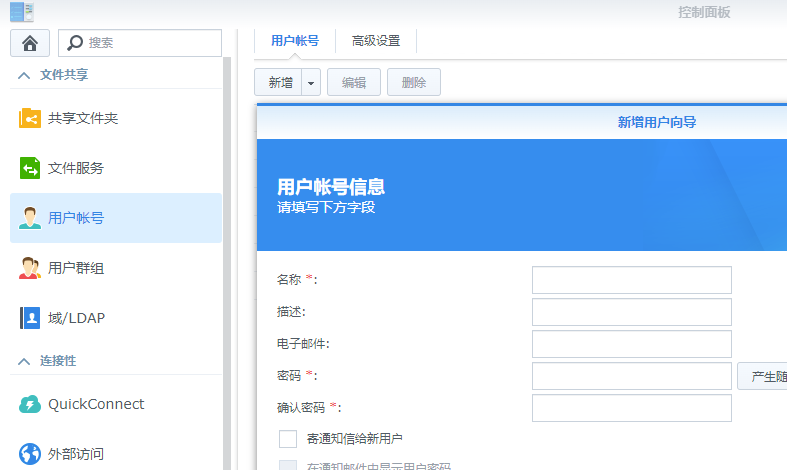
創建一個用戶
創建一個新用戶,用來保存git repo 數據, 假設賬戶名為git
控制面板 -> 用戶賬戶 -> 新增
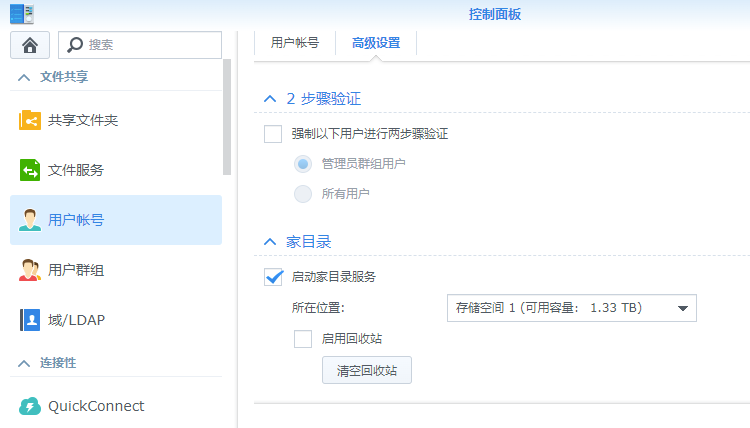
啟用 用戶家服務
進入 控制面板 -> 用戶賬戶 -> 高級 中啟用 “用戶家服務”。
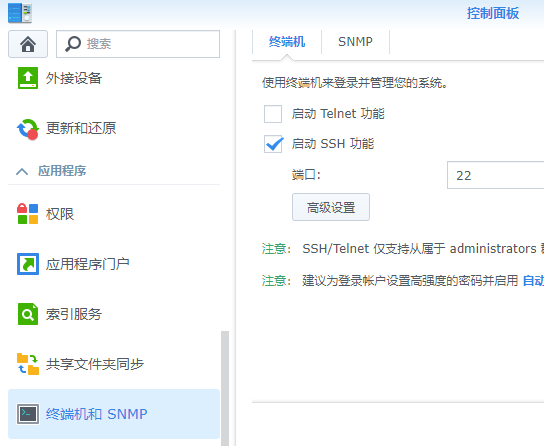
啟用 SSH 功能
Git Server需要通過 SSH 進行訪問, 進入 控制面板 -> 終端及 SNMP 中勾選 “啟用 SSH 功能”。
通過 SSH 連接到 Synology NAS
使用SSH工具(Windows Terminal, Putty, Xshell等) 連接 Synology NAS
賬號和密碼為創建用戶時輸入的內容,按提示輸入用戶名,密碼通過後即可連接成功。
通過證書設置免密登錄
用戶的主目錄為: /var/services/homes/git/
在主目錄下 創建 .ssh目錄, 在.ssh目錄下創建 authorized_keys 文件, 密鑰保存在這個文件中
完成後目錄結構如下:
 1
 2
 3
 4
 5
 6
 7
 8
 9
10
11
12
13
14
15
16
|
root@DiskStation:/var/services/homes/git# ll
total 0
drwxr-xr-x  1 git  users 726 Dec  7 21:21 .
drwx--x--x+ 1 root root   58 Dec  7 21:17 ..
drwx------  1 git  users  30 Dec  6 12:37 .ssh

root@DiskStation:/var/services/homes/git# cd .ssh/
root@DiskStation:/var/services/homes/git/.ssh# ll
total 4
drwx------ 1 git users   30 Dec  6 12:37 .
drwxr-xr-x 1 git users  726 Dec  7 21:21 ..
-rw-r--r-- 1 git users 2408 Dec  6 11:35 authorized_keys

root@DiskStation:/var/services/homes/git/.ssh# more authorized_keys
ssh-rsa AAAAB3NzaC1yc2EAAAADAQABAAABAQDLZE20i2x2ms4BzrLwOsusHa/Xe2x4bA4fhJvlcTF9yVGJZEaHKHOPOGbxAxGtP0igqjIp95yRPwBX+YYWL9oG26LSBVZ8fuDbcj/TVVIP5rsG+5W4UrZxZHrPd91LQRCfIWPr7XfjTCZr9amaan7GCw2Zf/1pSiYmhfI4yWwteB/29TOavWNf1+ArWm/dFtfA
Nea6/BTJFRjrJuhh91VR1exOxEFK7gVRmg6KsmKzGNhSPkzlhRXLyQz7ttyaCY6VIH6NyHWjMnd8Io/tfpv7mL89/XfdnKgmkhzeUWUoAgvDBGnZpaFRV9PnSZDvV5BPcBx7WG9+4yPrAqj8x knightli@ubuntu
|
修改文件和目錄的權限信息
1
2
|
chmod 700 .ssh
chmod 644 .ssh/authorized_keys
|
修改sshd的配置文件 /etc/ssh/sshd_config, 注意要有以下三行, 如果用#註釋的,要打開註釋, 沒有對應的行,則需要添加。
1
2
3
|
RSAAuthentication yes
PubkeyAuthentication yes
AuthorizedKeysFile  .ssh/authorized_keys
|
設置成功後,可以不需要ssh密碼直接SSH登錄Synology NAS, 這步是為了以後使用git命令時免於每次都輸入密碼。
開始使用Git Server
在服務器端創建項目倉庫
 1
 2
 3
 4
 5
 6
 7
 8
 9
10
11
12
13
14
|
git@DiskStation:~$ mkdir my_project
git@DiskStation:~$ cd my_project/
git@DiskStation:~/my_project$ git init --bare
hint: Using 'master' as the name for the initial branch. This default branch name
hint: is subject to change. To configure the initial branch name to use in all
hint: of your new repositories, which will suppress this warning, call:
hint:
hint:   git config --global init.defaultBranch <name>
hint:
hint: Names commonly chosen instead of 'master' are 'main', 'trunk' and
hint: 'development'. The just-created branch can be renamed via this command:
hint:
hint:   git branch -m <name>
Initialized empty Git repository in /volume1/homes/git/my_project/
|
client端操作
1
2
3
|
C:\Users\knightli>git clone git@192.168.8.100:my_project
Cloning into 'my_project'...
warning: You appear to have cloned an empty repository.
|
命令行中clone後的git是服務器創建的賬號名稱
my_project是項目的倉庫名稱
完成clone後,後續可以正常操作。
push 完成後數據保存在Synology NAS 的 git用戶主目錄下
 1
 2
 3
 4
 5
 6
 7
 8
 9
10
11
12
|
git@DiskStation:~/my_project$ ll
total 12
drwxr-xr-x 1 git users  98 Dec  7 22:23 .
drwxr-xr-x 1 git users 746 Dec  7 22:23 ..
drwxr-xr-x 1 git users   0 Dec  7 22:23 branches
-rw-r--r-- 1 git users  66 Dec  7 22:23 config
-rw-r--r-- 1 git users  73 Dec  7 22:23 description
-rw-r--r-- 1 git users  23 Dec  7 22:23 HEAD
drwxr-xr-x 1 git users 506 Dec  7 22:23 hooks
drwxr-xr-x 1 git users  14 Dec  7 22:23 info
drwxr-xr-x 1 git users  16 Dec  7 22:23 objects
drwxr-xr-x 1 git users  18 Dec  7 22:23 refs
|
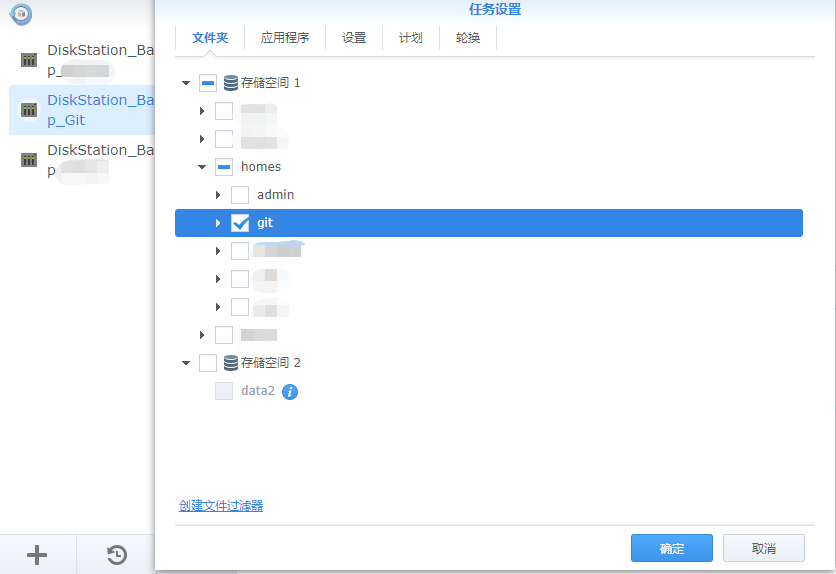
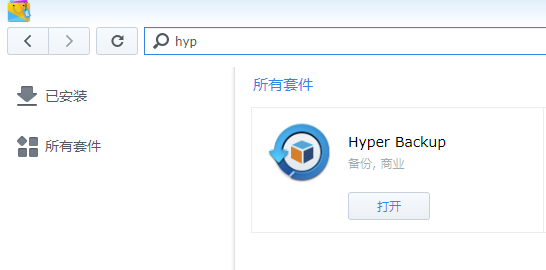
Hyper Backup定時備份
git repo數據都位於/var/services/homes/git/下,只需備份此目錄就可以
安裝 Hyper Backup
配置 Hyper Backup