Hardware
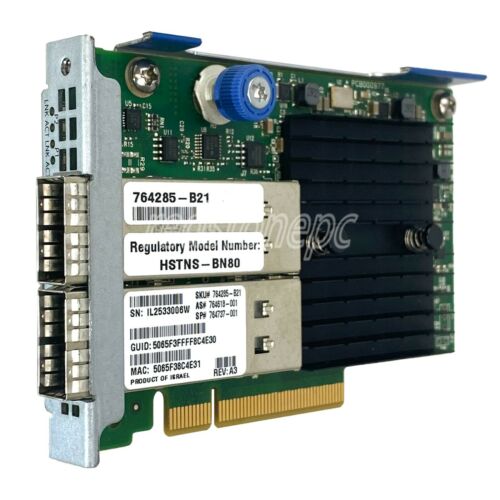
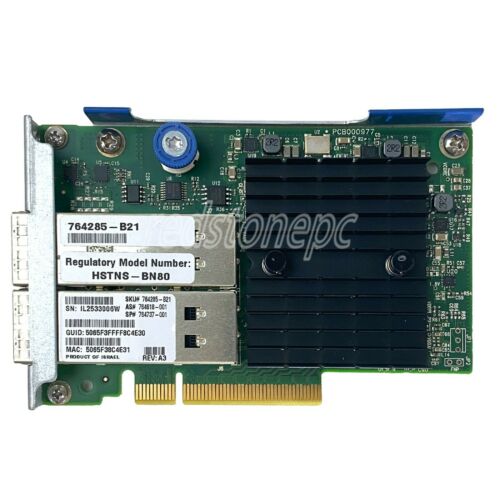
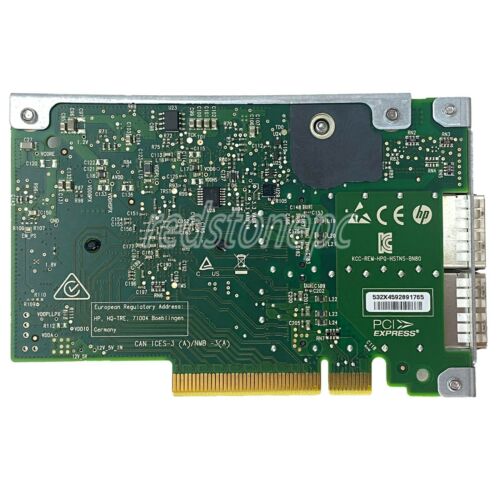
Tarjeta adaptadora Ethernet HP 544+FLR-QSFP 40 Gb/s 2 puertos 544+FLR-QSFP 764285-B21
- Tabla de correspondencia numérica
| Número |
Producto |
OEM |
| 879482-B21 |
Adaptador HPE InfiniBand FDR/Ethernet 40Gb/50Gb de 2 puertos 547FLR-QSFP |
Tecnología Mellanox ConnectX-5 |
| 764284-B21 |
Adaptador HPE InfiniBand FDR/Ethernet de 10 Gb/40 Gb de 2 puertos 544+QSFP |
Tecnología Mellanox ConnectX-3 Pro |
| 764285-B21 |
Adaptador HPE InfiniBand FDR/Ethernet de 10 Gb/40 Gb de 2 puertos 544+FLR-QSFP |
Tecnología Mellanox ConnectX-3 Pro |
| 764737-001 |
Adaptador InfiniBand FDR/Ethernet de 10 Gb/40 Gb de 2 puertos 544+FLR-QSFP (FlexibleLOM): ancho de banda InfiniBand de hasta 56 Gb/s Fourteen Data Rate (FDR), ancho de banda Ethernet de hasta 40 Gb/s, PCIe 3.0 |
Tecnología Mellanox ConnectX-3 Pro |
| 764286-B21 |
Adaptador HP InfiniBand QDR/Ethernet de 10 Gb y 2 puertos 544+FLR-QSFP |
Tecnología Mellanox ConnectX-3 Pro |
##Software
MLNX_OFED_LINUX-4.9-4.1.7.0-ubuntu20.04-x86_64.tgz
https://network.nvidia.com/products/infiniband-drivers/linux/mlnx_ofed/
Configuración de instalación
Compile e instale el controlador
Tenga en cuenta que es necesario instalar tanto el lado de almacenamiento como el lado de conexión.
1
2
3
4
5
6
|
tar -zvxf MLNX_OFED_LINUX-4.9-4.1.7.0-ubuntu20.04-x86_64.tgz
cd MLNX_OFED_LINUX-4.9-4.1.7.0-ubuntu20.04-x86_64/
sudo ./mlnxofedinstall --with-nvmf
sudo update-initramfs -u
sudo apt install nvme-cli
reboot
|
Configurar dirección IP
Tenga en cuenta que es necesario configurar tanto el extremo de almacenamiento como el extremo de conexión. Los datos reales no se transmiten a través de IP, sino a través de la red IB y RDMA.
Encuentra el puerto de red
 1
 2
 3
 4
 5
 6
 7
 8
 9
10
11
12
13
14
15
16
17
18
19
20
21
22
23
24
25
26
27
28
29
30
31
32
33
34
35
36
37
38
39
40
41
42
43
44
45
46
47
48
49
50
51
52
53
54
55
56
|
knightli@epyc:~$ sudo lshw -c network
  *-network:0
       description: Ethernet interface
       product: I350 Gigabit Network Connection
       vendor: Intel Corporation
       physical id: 0
       bus info: pci@0000:01:00.0
       logical name: eno1
       version: 01
       serial: ac:1f:6b:e7:e7:b4
       capacity: 1Gbit/s
       width: 32 bits
       clock: 33MHz
       capabilities: pm msi msix pciexpress bus_master cap_list ethernet physical tp 10bt 10bt-fd 100bt 100bt-fd 1000bt-fd autonegotiation
       configuration: autonegotiation=on broadcast=yes driver=igb driverversion=5.6.0-k firmware=1.69, 0x80000df4 latency=0 link=no multicast=yes port=twisted pair
       resources: irq:84 memory:eff20000-eff3ffff ioport:1020(size=32) memory:eff44000-eff47fff memory:1c904000000-1c90401ffff memory:1c904020000-1c90403ffff
  *-network:1
       description: Ethernet interface
       product: I350 Gigabit Network Connection
       vendor: Intel Corporation
       physical id: 0.1
       bus info: pci@0000:01:00.1
       logical name: eno2
       version: 01
       serial: ac:1f:6b:e7:e7:b5
       size: 1Gbit/s
       capacity: 1Gbit/s
       width: 32 bits
       clock: 33MHz
       capabilities: pm msi msix pciexpress bus_master cap_list ethernet physical tp 10bt 10bt-fd 100bt 100bt-fd 1000bt-fd autonegotiation
       configuration: autonegotiation=on broadcast=yes driver=igb driverversion=5.6.0-k duplex=full firmware=1.69, 0x80000df4 ip=192.168.8.161 latency=0 link=yes multicast=yes port=twisted pair speed=1Gbit/s
       resources: irq:98 memory:eff00000-eff1ffff ioport:1000(size=32) memory:eff40000-eff43fff memory:1c904040000-1c90405ffff memory:1c904060000-1c90407ffff
  *-network
       description: interface
       product: MT27520 Family [ConnectX-3 Pro]
       vendor: Mellanox Technologies
       physical id: 0
       bus info: pci@0000:61:00.0
       logical name: ibp97s0
       logical name: /dev/fb0
       version: 00
       serial: a0:00:02:20:fe:80:00:00:00:00:00:00:9c:dc:00:00:00:00:00:00
       width: 64 bits
       clock: 33MHz
       capabilities: pm vpd msix pciexpress bus_master cap_list rom physical fb
       configuration: autonegotiation=on broadcast=yes depth=32 driver=ib_ipoib driverversion=4.9-4.1.7 duplex=full firmware=2.42.5700 ip=172.18.8.2 latency=0 link=yes mode=1024x768 multicast=yes visual=truecolor xres=1024 yres=768
       resources: iomemory:8f0-8ef irq:94 memory:ea500000-ea5fffff memory:8f06000000-8f07ffffff memory:ea400000-ea4fffff
  *-network DISABLED
       description: interface
       physical id: 4
       bus info: pci@0000:61:00.0
       logical name: ibp97s0d1
       serial: a0:00:03:00:fe:80:00:00:00:00:00:00:9c:dc:00:00:00:00:00:00
       size: 10Gbit/s
       capabilities: physical
       configuration: autonegotiation=on broadcast=yes driver=ib_ipoib driverversion=4.9-4.1.7 duplex=full firmware=2.42.5700 link=no multicast=yes speed=10Gbit/s
|
Tenga en cuenta que el puerto de red del producto: Familia MT27520 [ConnectX-3 Pro], el nombre lógico correspondiente: ibp97s0
Establecer la IP del puerto de red
Modifique /etc/netplan/00-installer-config.yaml para agregar la dirección IP
 1
 2
 3
 4
 5
 6
 7
 8
 9
10
11
12
|
# This is the network config written by 'subiquity'
network:
  ethernets:
    eno1:
      optional: true
      dhcp4: true
    eno2:
      optional: true
      dhcp4: true
    ibp97s0:
      addresses: [172.18.8.2/24]
  version: 2
|
Ejecutar sudo netplan aplicar después de la modificación
Configuración de almacenamiento (el disco nvme físico está en este servidor)
exp_nvme.sh
 1
 2
 3
 4
 5
 6
 7
 8
 9
10
11
12
13
14
15
16
17
18
19
20
21
22
23
24
25
26
|
#!/bin/bash
expdev(){
    echo "exp nvme dev [subsystem] = $1 [nvme dev] = $2 [namespace number]=$3 [ip]=$4 [port]=$5"
    mkdir /sys/kernel/config/nvmet/subsystems/$1/namespaces/$3
    echo -n $2 > /sys/kernel/config/nvmet/subsystems/$1/namespaces/$3/device_path
    echo 1 > /sys/kernel/config/nvmet/subsystems/$1/namespaces/$3/enable
    mkdir /sys/kernel/config/nvmet/ports/$3
    echo $4 > /sys/kernel/config/nvmet/ports/$3/addr_traddr
    echo rdma > /sys/kernel/config/nvmet/ports/$3/addr_trtype
    echo $5 > /sys/kernel/config/nvmet/ports/$3/addr_trsvcid
    echo ipv4 > /sys/kernel/config/nvmet/ports/$3/addr_adrfam
    ln -s /sys/kernel/config/nvmet/subsystems/$1 /sys/kernel/config/nvmet/ports/$3/subsystems/$1
}

modprobe mlx5_core
modprobe nvmet
modprobe nvmet-rdma
modprobe nvme-rdma

mkdir /sys/kernel/config/nvmet/subsystems/data_8
echo 1 > /sys/kernel/config/nvmet/subsystems/data_8/attr_allow_any_host
expdev data_8 /dev/nvme0n1 800 172.18.8.1 6600
expdev data_8 /dev/nvme1n1 801 172.18.8.1 6601
expdev data_8 /dev/nvme2n1 802 172.18.8.1 6602
expdev data_8 /dev/nvme3n1 803 172.18.8.1 6603
expdev data_8 /dev/nvme4n1 804 172.18.8.1 6604
|
Configuración de conexión (conéctese al disco nvme remoto desde este servidor)
####Instalar la herramienta de línea de comando nvme
1
|
sudo apt install nvme-cli
|
Ejecutar script nvme
1
2
3
|
modprobe mlx5_core
modprobe nvme-rdma
sudo nvme connect -t rdma -n data_8 -a 172.18.8.1 -s 6601
|
Después de una ejecución exitosa, puede usar sudo fdisk -l para enumerar los dispositivos nvme conectados y luego montarlos de acuerdo con el método de los dispositivos de bloque locales.